This guide explains how IO-Device Integration inputs work in MASS, and how they can be used to control camera auto-follow functionality and switch profiles within the MASS.
For the purpose of this guide, we will use a physical Advantech Adam-6060 IO device, along with the AdamApax .NET Utility to emulate input state changes (open/close).
Adding IO-Device Integration
- Browse to the MASS web interface and log in as an admin user.
- Open MASS Configuration.
- Navigate to the Integration section and click Add to create a new integration.
- Select IO-Device, Refer to the IO-Device-Advantech Adam and MASS3 integration user guide and configure the IO-Device connection.
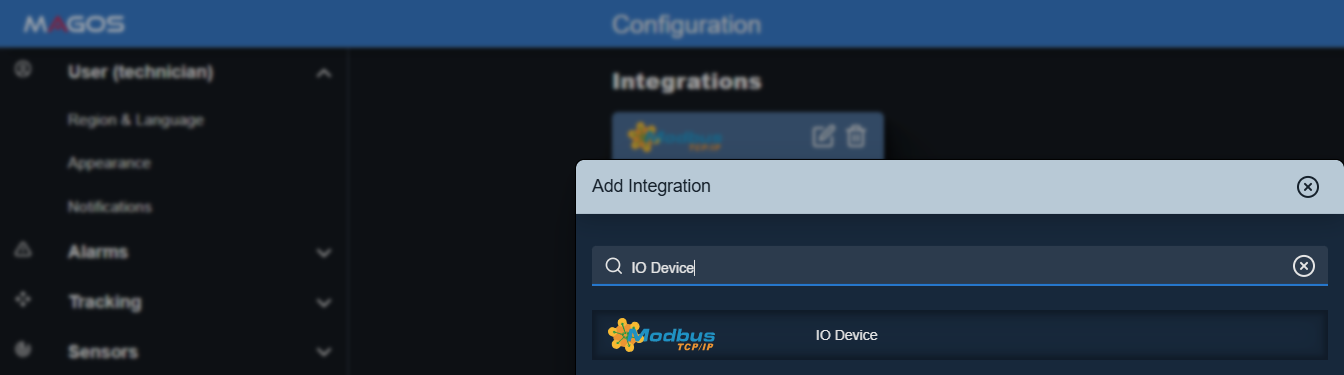
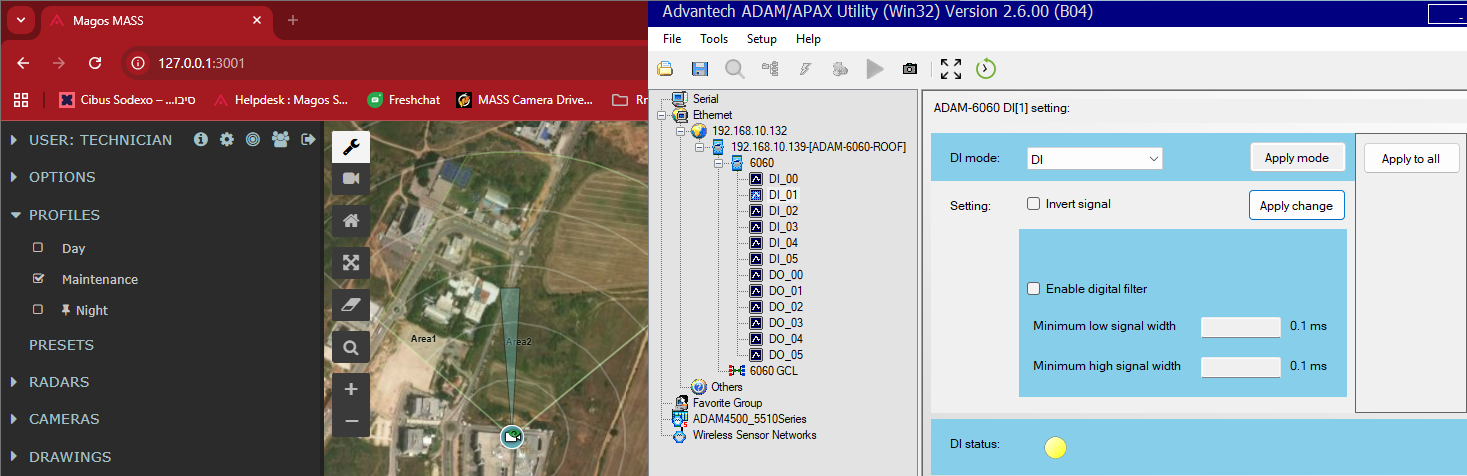
MASS Configuration > Integration > IO-Device Integration

Configure the IO-Device Connection
Configure Input for Camera Auto-Follow Functionality
This functionality allows you to control a camera’s auto-follow without using the MASS web interface.
It can be applied to a single camera or to all cameras simultaneously.
In this example, we will demonstrate how to configure it for a single camera.
- In the Edit Integration form, click Add next to the Inputs section.
- In the Add New Channel form, set the following:
- Address: Enter the corresponding input address.
- Action: Select Change Auto Track.
- Camera: Choose one of the connected cameras in MASS.
- Polarity: Set according to the default input state (Normally Open or Normally Closed).
- Click Add to save.
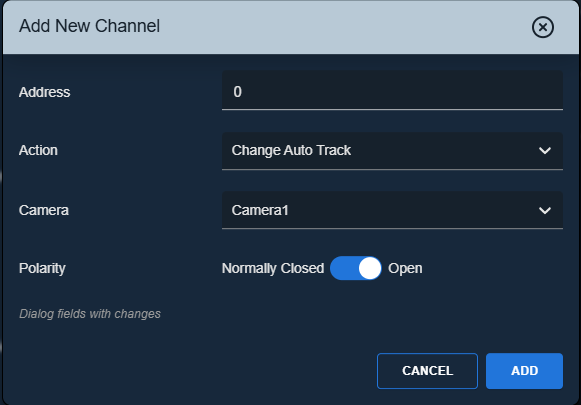
Adding new Input channel - Change Auto Track
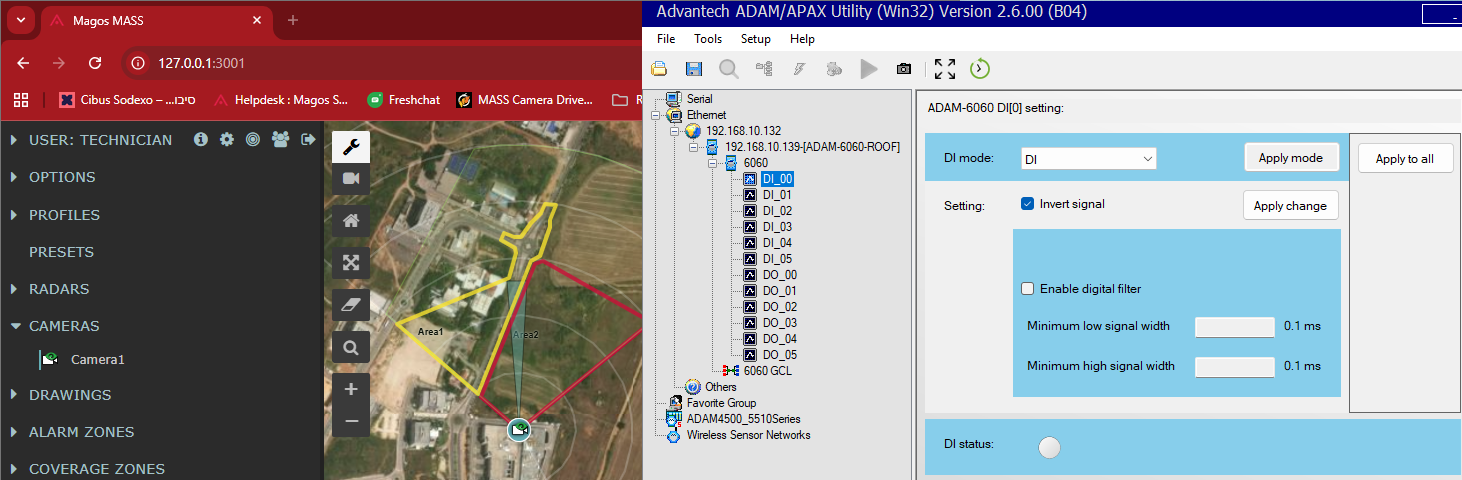
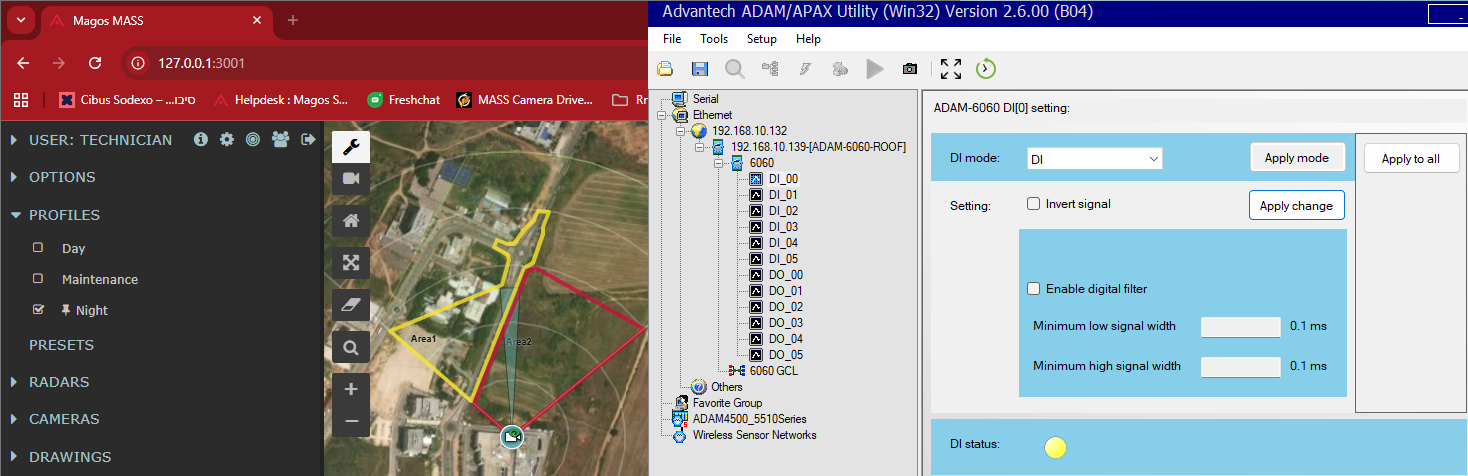
Emulate input state change using the AdamApax .NET Utility.
This step does not describe how to configure or operate the AdamApax .NET Utility, only the resulting behavior in MASS.
Before triggering the input:
The camera in MASS is in auto-follow mode.
You can identify this by the camera icon in the menu and map — the icon includes an eye symbol.
After triggering the input:
The camera in MASS switches to auto-follow OFF mode.
The camera icon now appears without the eye symbol.

Configure Input for Changing Profile
This functionality is useful when a specific MASS profile needs to be activated under certain conditions not defined in the profile scheduler (for example, a Maintenance profile).
- In the Edit Integration form, click Add next to the Inputs section.
- In the Add New Channel form, set the following:
- Address: Enter the corresponding input address.
- Action: Select Change Profile.
- Profile: Choose one of the configured profile in MASS.
- Polarity: Set according to the default input state (Normally Open or Normally Closed).
- Click Add to save.

Adding new Input channel - Change Profile
Emulate input state change using the AdamApax .NET Utility.
This step does not describe how to configure or operate the AdamApax .NET Utility, only the resulting behavior in MASS.
Before triggering the input:
The active profile in MASS is Night.
You can verify this by checking the selected profile in the menu.
After triggering the input:
The active profile in MASS changes to Maintenance.
Again, this can be seen by the updated selected profile in the menu.
When none of the Changing Profile inputs are active, the active profile in MASS will be used as the active scheduler profile. If no scheduler profile is configured, the default pinned profile will be used.