After upgrading to MASS version 3.25.4, you can configure:
- Preset action buttons
- Focus and auto-focus behavior
This guide summarizes how to set up these features.
Step 1 - Download and edit the required camera model files in MASS
- In MASS, open the camera settings (edit mode)
- Select the camera model from the model dropdown and click on the download button.
- Once you have the files, rename them to “<model-name>-actions.camera.yaml”.
- Open each file and add "- actions" as postfix to the "name" property. This step is optional but useful, as it helps you easily distinguish the new model later when selecting it.

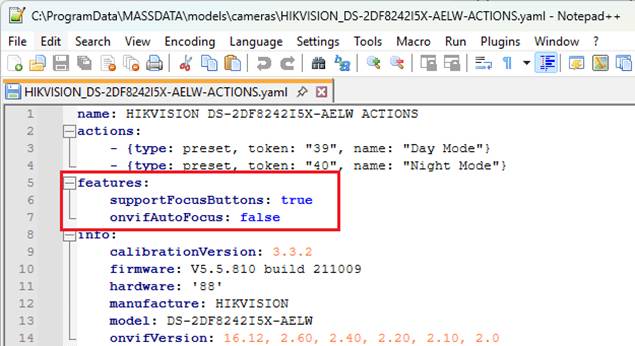
Step 2 - Adding Preset Actions
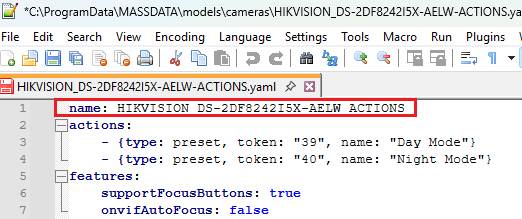
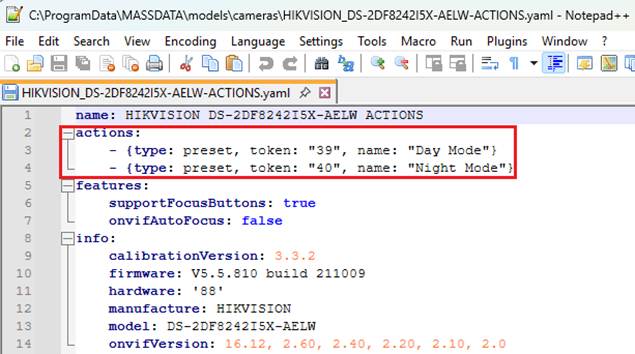
- In the camera model yaml file, add an actions property.
- Each action should be defined as a separate item.
Example structure:
actions:
- {type: preset, token: "39", name: "Day Mode"}
- {type: preset, token: "40", name: "Night Mode"}
- type: always "preset"
- token: the camera preset identifier
- name: the text that will appear on the button
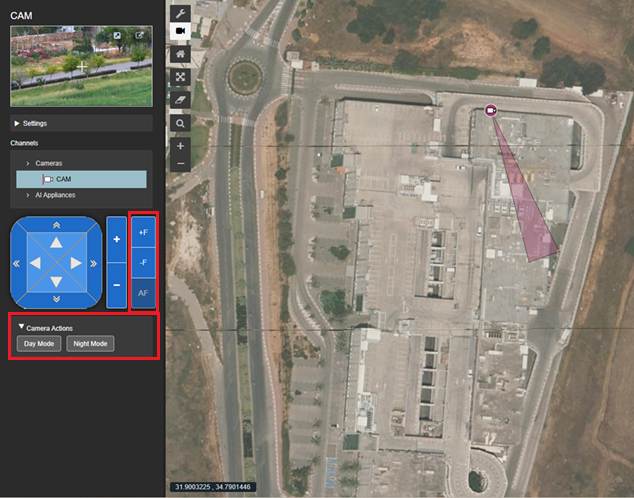
Step 3 - Configuring Auto-Focus Behavior and Show\Hide UI Buttons
All cameras currently support auto-focus. You can control how this appears in the UI using the following properties in the model .yaml:
- In the camera model yaml file, add an features property.
- Each feature should be defined as a separate item.
Example structure:
features:
supportFocusButtons: true
onvifAutoFocus: false
- supportFocusButtons: true to show all focus/auto-focus buttons.
- onvifAutoFocus: false show the "Auto-Focus" button as disabled if camera doesn't support auto-focus.
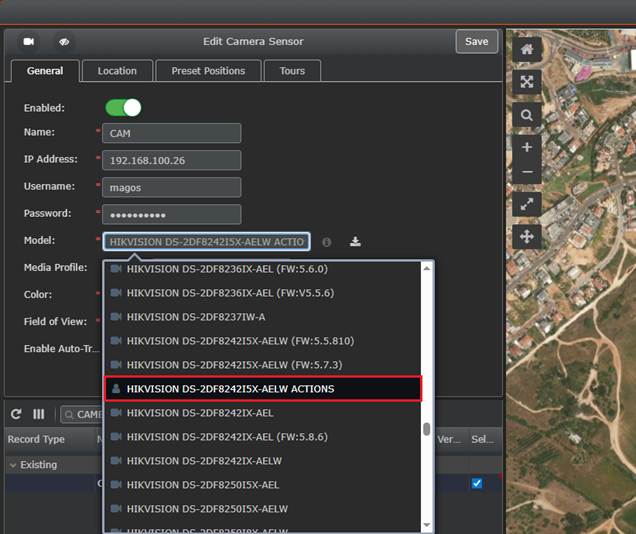
Step 4 – Upload the new edited camera models files and select them in MASS.
- In MASS configuration go to Sensors -> Models
- Upload the file you created.
- In Camera settings ("edit mode"), choose the new model (ending with "- actions"). Save and finish.

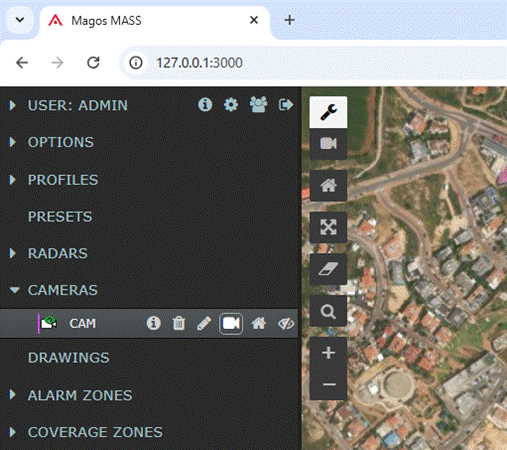
The new focus and camera actions are now available at the bottom. To access them, open the sidebar in MASS and launch the video-in-MASS for the desired camera.